R6How-To · 4 min read
How to Apply Thermal Paste on AM5 and LGA1851
How much paste to use, where to put it on current AMD and Intel CPUs, how to clean off the old layer, and when repasting is worth doing.
PC Parts Reviews Editors · November 9, 2026
The short version
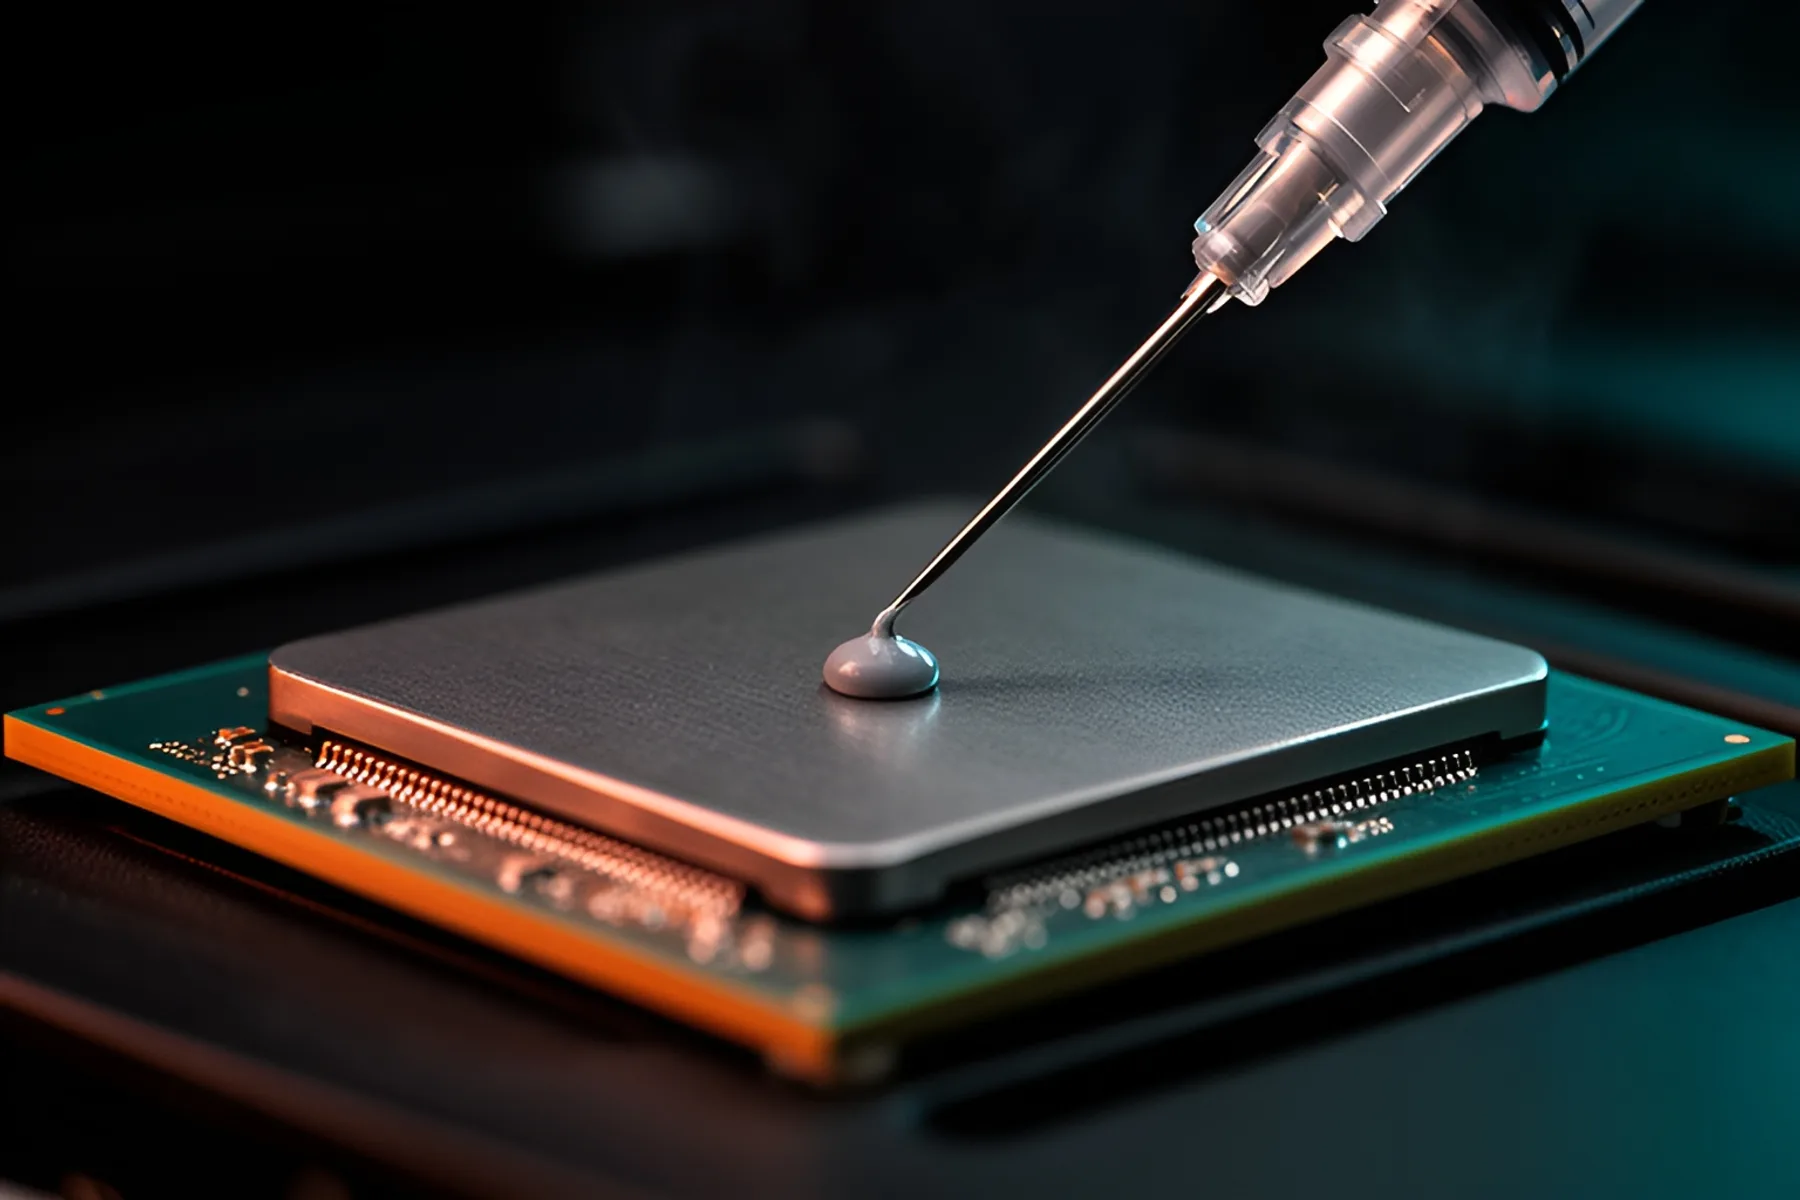
- On AM5, use one dot of paste 3 to 4 mm across in the center of the CPU.
- On LGA1851, use a 3 to 4 mm dot in the center plus four 2 mm dots near the corners, because the lid is long and rectangular.
- Clean old paste with isopropyl alcohol and a lint-free cloth, and let the surface dry before you reapply.
- Reapply every time the cooler comes off, and otherwise only when temperatures have climbed with no other explanation.
- Remove the film from the cooler's base, or no amount of good paste will help.
Thermal paste fills the microscopic gaps between a CPU's metal lid and the base of your cooler. The amount matters less than forums suggest, as long as there's enough to cover the area and not so much that it squeezes over the edge. What has changed is the shape of current chips: a single central dot suits AM5, but LGA1851 CPUs are long enough to need a little more coverage.
What you need
- A tube of non-conductive paste. Arctic MX-6 and Thermal Grizzly Kryonaut are both non-conductive, and both are fine for this job.
- Isopropyl alcohol and a lint-free cloth, plus a cotton swab for tight spots.
- The hardware and manual for your CPU cooler.
If your cooler has paste pre-applied, you can skip the tube on a first install. Just don't add more on top of it.
Warning: Liquid metal compounds conduct electricity and can damage parts if they get onto the components around the socket. This guide covers ordinary paste only. Don't treat liquid metal as an easy swap.
Clean off the old paste
Skip this on a brand-new CPU and a clean cooler.
- Power down and unplug. If you've just removed a cooler that doesn't want to lift, run the PC for a few minutes first, because warm paste releases more easily.
- Loosen the cooler screws in a diagonal pattern, a few turns at a time, to release the pressure evenly.
- Wipe the cooler's base first, with a little isopropyl on the cloth.
- Clean the CPU while it stays in the socket, gently and without pushing paste into the gap around the lid. Use a swab to clear recesses.
- Let the alcohol evaporate completely. Check for pools of liquid and lint before you apply anything.
How much to use, and where
| Socket | Lid shape | Pattern | Amount |
|---|---|---|---|
| AM5 (Ryzen 7000, 8000, 9000) | Square, with cutouts around the edge | One dot in the center | 3 to 4 mm across |
| LGA1851 (Core Ultra 200S) | Rectangular, 45 x 37.5 mm package | One center dot plus four dots near the corners | 3 to 4 mm center, 2 mm at the corners |
AM5. The Ryzen lid has cutouts around its edges, so the heat-transfer surface is smaller than the package suggests. A single dot spreads to cover it, and extra paste only migrates over the edge and into the cutouts, where it's a nuisance to remove. The amounts in the table follow Tom's Hardware's socket-by-socket guidance.
LGA1851. Intel's long, rectangular lid and the off-center layout of the chiplets underneath mean a lone central dot can leave the ends thin. The corner dots should sit a couple of millimeters in from each corner, and you don't need to hit the sizes exactly. It's harder to make a dot smaller than 2 mm than most people expect, and a slightly larger one does no harm. What you want to avoid is using substantially more than this in total.
Don't spread it. The mounting pressure does the work, and Arctic explicitly says MX-6 can't be spread with a spatula. Spreading by hand also tends to trap air.
Use offset mounting if your cooler has it. The heat-producing chiplets on Ryzen CPUs sit away from the center of the lid, and coolers such as the Noctua NH-D15 G2 include offset mounting positions for AM5 that move the cold plate toward them. It doesn't change how much paste you use, but it helps the cooler do its job. Check the manual, because getting this backward defeats the point.
Mount the cooler
- Peel the protective film off the base of the cooler. It's the classic new-build mistake, and it causes severe overheating.
- Lower the cooler straight down, without sliding it around after it touches the paste.
- Start each screw, then tighten them in a diagonal pattern, a few turns at a time, until the mounting hardware stops. Follow the cooler's own manual, because the sequence, the brackets and the end point differ by model. We don't list a torque figure, since one number wouldn't apply to every cooler.
- If you lift the cooler off after contact, clean both surfaces and start again.
Warning: Don't overtighten past the point where the hardware stops. Uneven or excessive mounting pressure can warp parts or stress the CPU and socket.
Check the result
Run a ten-minute Cinebench or OCCT CPU load and watch temperatures in HWiNFO. Modern chips run hot under full load by design: Intel lists a 105 °C limit for the Core Ultra 9 285K, and AMD lists 95 °C for the Ryzen 7 9700X. High 80s or above under an all-core load isn't automatically a problem on a powerful CPU.
Reaching the limit within seconds is a problem, and it usually means the film is still on, the cooler isn't making full contact, or a pump isn't running. If you do remove the cooler to check, you should see a thin, even spread across the lid. Bare patches mean you used too little or the pressure was uneven.
Our CPU cooler rankings can help if the temperatures are a limit of the cooler itself rather than the paste.
When to repaste
- Every time you remove the cooler, even for a moment, because the seal has been broken.
- When temperatures have crept up with no other cause. Clean dust filters and fans first, then compare with the numbers you recorded when the PC was new.
- When you change the CPU.
Good paste doesn't need replacing on a schedule. Arctic describes MX-6 as non-drying, and on a healthy desktop you'll usually replace the CPU or cooler before the paste becomes the limit. Don't take a working cooler off just to freshen it up.
Mistakes worth avoiding
| Mistake | What happens | What to do |
|---|---|---|
| Leaving the film on the cooler base | Immediate, severe overheating | Peel it off before mounting |
| Adding paste on top of a pre-applied layer | Thick, uneven interface and extra mess | Use one or the other |
| Reusing old paste after lifting the cooler | Air gaps and higher temperatures | Clean both surfaces and reapply |
| Getting paste into the socket | Hard-to-clean contamination near the contacts | Keep the CPU installed while you work |
Common questions
Can you use too much thermal paste?
Yes, though the penalty is usually mess more than heat. Excess squeezes out past the edge of the lid, where it's hard to clean, and on AM5 it can collect in the cutouts around the lid. Stick to the amounts in this guide.
Do I need to spread thermal paste by hand?
No. Let the cooler's mounting pressure do it. Arctic says outright that its thick MX-6 paste can't be spread with a spatula, and spreading any paste by hand can trap air and spoil the distribution.
Should I use the paste already on my cooler?
Yes, for a first install. Pre-applied paste is designed to be used once, so wipe it off and apply fresh paste if you ever remove the cooler. Don't add more paste on top of it.
How often should I replace thermal paste?
There's no schedule. Reapply it when you remove the cooler, or when your temperatures have risen noticeably with clean filters and normal airflow. Many desktops never need it during a normal upgrade cycle.
Is thermal paste electrically conductive?
Standard pastes such as Arctic MX-6 and Thermal Grizzly Kryonaut are not. Liquid metal compounds are, and they need specific precautions, so they aren't a drop-in alternative.
Sources
R8Keep reading
How-To · 7 min
How to Build a PC, Step by Step
The whole build in order, from tools to a stress-tested Windows install, with the mistakes that damage parts flagged and a fix list for a PC that won't POST.
Nov 9, 2026
Explainers · 3 min
AM5 vs LGA1851: Sockets, Chipsets and Upgrade Paths
How AMD's and Intel's current desktop platforms compare on chipset tiers, memory and longevity, and which one leaves you a real upgrade path.
Nov 9, 2026
Guides · 5 min
How to Choose a CPU in 2026
Games want cache and heavy work wants cores. Pick between Ryzen 9000 and Core Ultra 200S, weigh socket lifespan, and learn when to keep your chip.
Nov 9, 2026
Bench Notes
One short email a week: price drops worth acting on, launches that matter, and the builds we would actually buy.