R6How-To · 7 min read
How to Build a PC, Step by Step
The whole build in order, from tools to a stress-tested Windows install, with the mistakes that damage parts flagged and a fix list for a PC that won't POST.
PC Parts Reviews Editors · November 9, 2026
The short version
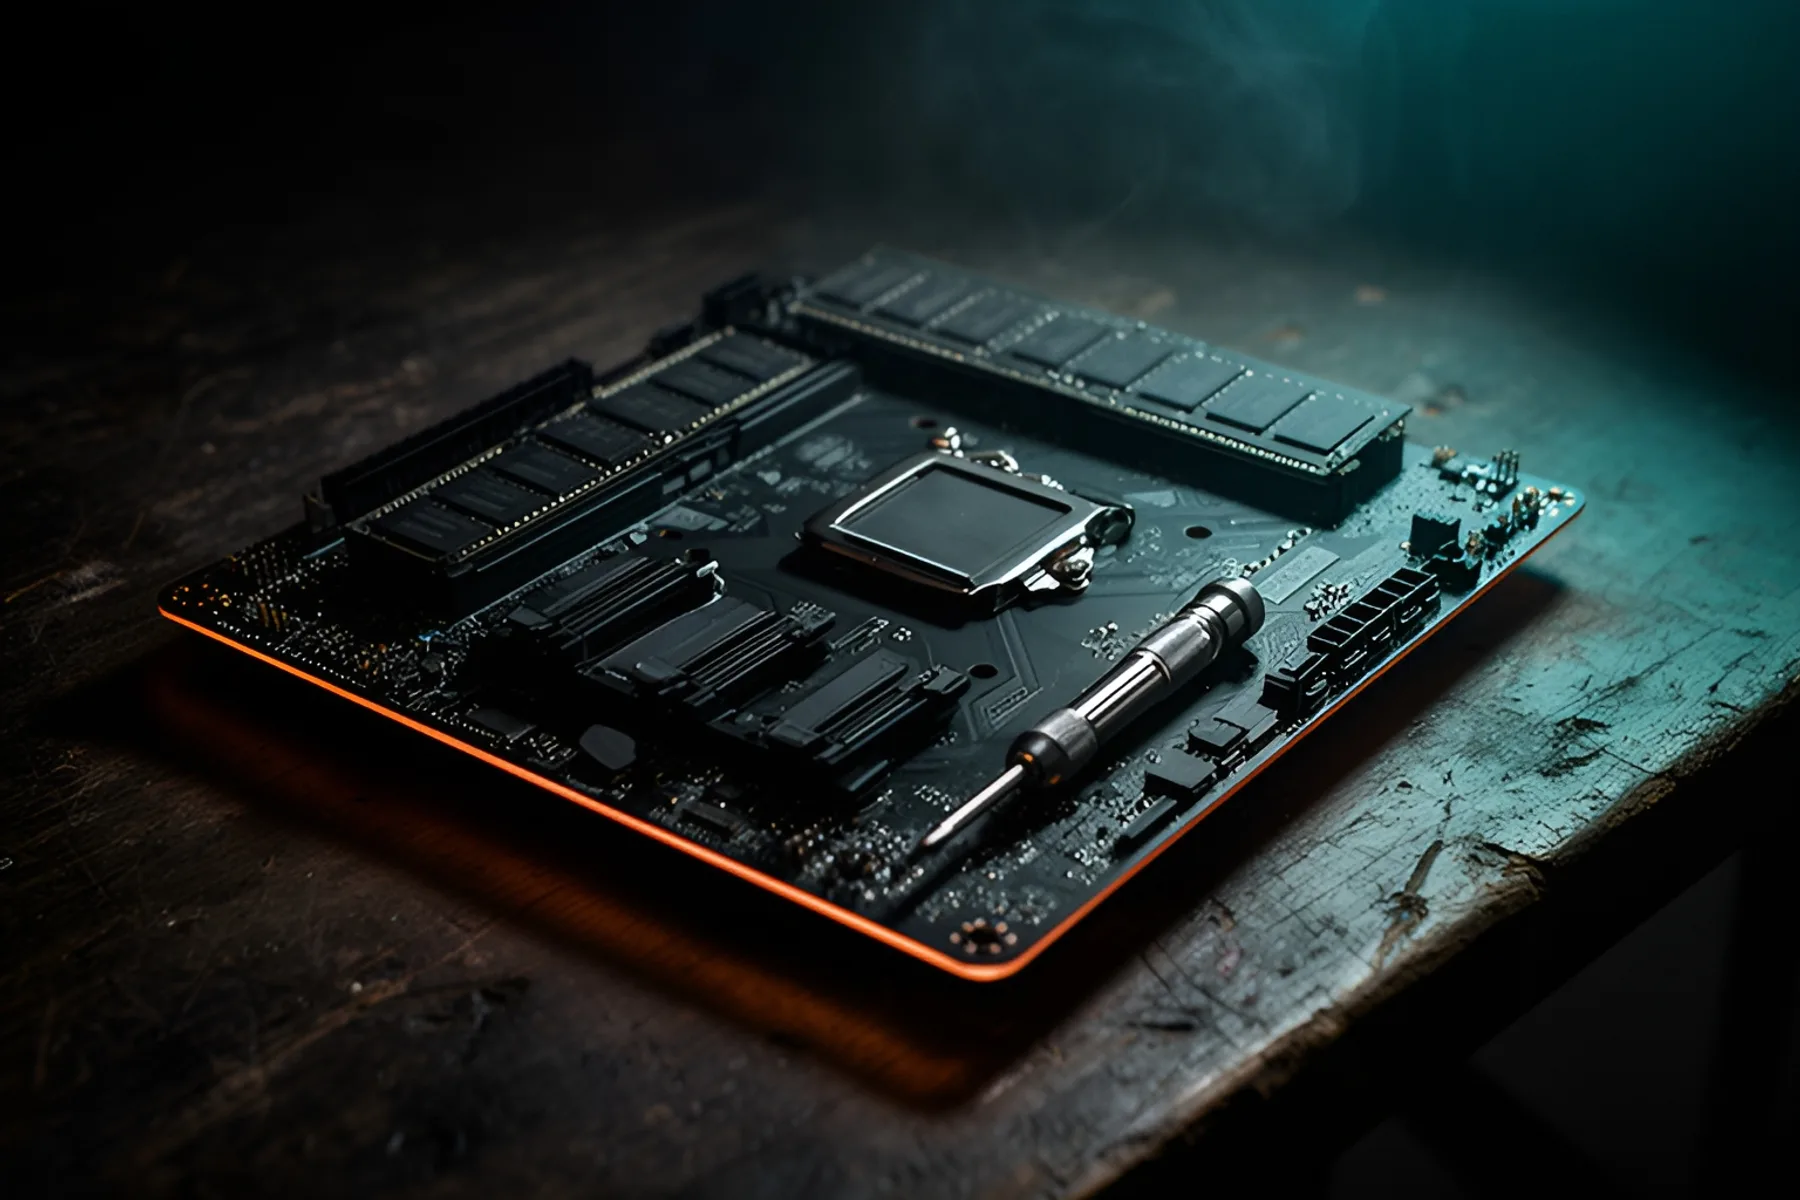
- Fit the CPU, memory, M.2 drive and usually the air cooler while the motherboard sits on its box, because you can see and reach everything there.
- Line up the triangle on the CPU with the mark on the socket and lower the chip straight in. If it won't sit flat without pressure, lift it out, because bent socket pins can ruin the board.
- Allow ten minutes on the first boot before assuming a fault, since DDR5 boards train memory on a black screen.
- Boot once at default settings, then turn on EXPO or XMP, install Windows and drivers, and run a CPU, memory and graphics stress test before you trust the machine.
- If the build won't POST, read the CPU, DRAM, VGA and BOOT lights first, then work through power cables, reseated memory and a CMOS clear in that order.
Building a PC is mostly careful plugging-in. Nearly every part is keyed so the correct fit takes little force, which means the expensive mistakes come from pushing when something resists. Work through these steps in order with your motherboard manual open, and stop whenever a part won't go in easily. The sequence assumes a current AM5 or LGA1851 build, and it holds for most desktops. If you haven't bought everything yet, run your list through the PC builder first so it can flag compatibility problems.
Tools and prep
You need a #2 Phillips screwdriver, a flashlight, a dish for screws, zip ties and a USB stick of at least 8 GB. Make the Windows installer on another PC with Microsoft's Media Creation Tool before you start, and keep the board manual open on a phone or laptop.
Work on a clear table, away from carpet if you can, and touch bare metal on the case before handling parts. Keep the motherboard on its cardboard box. Never power it on while it sits on its anti-static bag, because the outside of the bag can conduct.
Install these outside the case
- CPU. Release the socket lever and lift the retention plate. Find the small triangle on one corner of the CPU and the matching mark on the socket, hold the chip by its edges, and lower it straight down until it drops in. Close the plate and press the lever under its hook. That takes real force, which is normal. The plastic socket cover usually pops out as the lever closes, so keep it in case you ever return the board.
- Memory. Open the slot latches. On a four-slot board, two sticks go in the second and fourth slots from the CPU, usually labelled A2 and B2, unless your manual says otherwise. Line up the offset notch and press both ends until the latches click.
- M.2 SSD. Remove the slot's heatsink, peel the film off its thermal pad, slide the drive in at a shallow angle, lay it flat and secure it. Put your boot drive in the slot nearest the CPU. Our M.2 install guide covers why some slots slow or switch off other connections.
- Air cooler. Peel the film off the base, then fit the brackets for your socket as the cooler's manual shows. Most current coolers ship with parts for both AM5 and LGA1851. If the base has pre-applied paste, use it. If it doesn't, follow our thermal paste guide. Tighten opposite screws a few turns at a time until they stop, then plug the fan into CPU_FAN. Very wide coolers can block the first memory slot, so test-fit before you tighten anything. A liquid cooler waits until the board is in the case.
Warning: If the CPU doesn't sit flat on its own, lift it out and recheck the triangles. On AM5 and LGA1851 the pins are in the socket, and one bent pin can ruin the board.
Mount the motherboard
Check that the case's standoffs match the holes in your board, since ATX, micro-ATX and mini-ITX use different patterns. Remove any standoff with no matching hole, because metal touching the back of the board can short it. Fit the I/O shield if your board doesn't have one built in, lower the board so the ports line up with the rear cutout, and fasten the screws in a cross pattern until they're snug. They only need to stop the board from moving.
For a liquid cooler, fit the radiator to the case first, then mount the pump block following its manual, and plug the pump into the header it names.
Install the power supply and route cables
Attach the modular cables you need, slide the power supply in and screw it to the case. Route each cable behind the motherboard tray and out through the nearest grommet:
- The 24-pin ATX cable goes to the right edge of the board.
- One or two 8-pin CPU cables go to the top left corner. Do these now, while your hands still fit.
- SATA power goes to any 2.5-inch or 3.5-inch drives.
- Graphics power waits for the next step.
Warning: Use only the modular cables supplied with your power supply. Pinouts differ between brands and sometimes between models, and a mismatched cable can destroy whatever it's plugged into. CPU 8-pin and PCIe 8-pin cables also aren't interchangeable, even though they look alike.
Install the graphics card
Remove the slot covers that line up with the top x16 slot, push the card in until the latch clicks, and screw its bracket to the case. Use a support bracket if the card came with one. On a high-power card, run a separate PCIe cable to each 8-pin socket. For a 12V-2x6 socket, push the plug in until no gap remains and follow our 12V-2x6 guide, because a partly seated plug can overheat.
Connect the front panel
The power switch, reset and LED leads go on the header block your manual shows, usually at the lower edge of the board. The LED pairs have polarity and the switch pairs don't. Then connect front USB, audio and the case fans. A typical layout pulls air in at the front and exhausts through the rear and top.
Warning: The pins on the 19-pin USB 3 header bend easily. Line up the key and press straight down.
First boot and POST
Before pressing the button, recheck the 24-pin, CPU and graphics power plugs. Leave the side panel off and connect the monitor to the graphics card, not the motherboard. Turn the power supply switch on and press power.
Fans should spin. The first boot on DDR5 can take several minutes while the board trains the memory, and the display stays black while that happens. Give it ten minutes before you assume something is wrong. When the logo appears, press Delete or F2 to open the BIOS.
Set up the BIOS
Confirm the CPU, the full memory capacity and your SSD are listed. Then:
- Turn on EXPO or XMP so memory runs at its rated speed, and expect another long boot.
- Check that Resizable BAR is on.
- Confirm the TPM (fTPM on AMD, PTT on Intel) and Secure Boot are available, because Windows 11 requires TPM 2.0 and Secure Boot capable UEFI firmware.
- Set fan curves and confirm a liquid cooler's pump runs at full speed.
Update the BIOS now only if your CPU needs it or the release notes fix something that affects you.
Install Windows and drivers
Plug in the USB stick, open the one-time boot menu (commonly F8, F11 or F12) and pick the installer. Disconnect other drives so Windows puts its boot files on the right one. Windows 11 Home, and Pro for personal use, need internet access and a Microsoft account during setup, so connect Ethernet if you can.
After setup, run Windows Update, then install the chipset driver from AMD or your board's support page, your graphics driver from NVIDIA or AMD, and LAN, Wi-Fi and audio drivers from the board's support page. Device Manager should show no warning icons.
Stress test before you trust it
Run these before you install games, with HWiNFO open to watch temperatures:
- CPU: a ten-minute Cinebench multi-core run, or OCCT's CPU test.
- Memory: OCCT's memory test, or one full pass of MemTest86 from a USB stick.
- Graphics: a 3DMark stress test or an hour of a demanding game.
Expect high numbers under all-core load. AMD lists a 95 °C limit for the Ryzen 7 9700X and Intel lists 105 °C for the Core Ultra 9 285K. A CPU that hits its limit within seconds usually has poor cooler contact, or the film is still on the base. Errors in the memory test point at EXPO or XMP, so drop to a lower speed and retest.
If the build won't POST
Work from simplest to most involved, and switch off the power supply before changing anything.
- Wait. Give a first boot ten minutes for memory training.
- No lights or fans. Check the wall socket, power supply switch, 24-pin cable and front-panel header. Briefly bridging the two power-switch pins your manual shows with a screwdriver tip rules out the case button.
- Read the status LEDs. Most boards have CPU, DRAM, VGA and BOOT lights. The one that stays lit tells you where the board stopped.
- DRAM. Reseat the sticks, then try one stick in the slot your manual names for single-module use.
- VGA. Reseat the card, check its power plugs and confirm the monitor is on the right input.
- CPU. Check the 8-pin CPU cables and confirm your BIOS supports the chip. A 600-series AM5 board may need an update for Ryzen 9000, and USB BIOS Flashback can do that without a working system.
- Clear the CMOS with the rear button or the jumper in your manual.
- Build on the box. Take the board out and test it with only the CPU, cooler, one stick of memory and power supply. That rules out a short against the case and lets you inspect the socket for bent pins.
If it still fails with every cable confirmed, contact the retailer or maker before buying replacements. Socket, our build assistant, can help you narrow down which part to suspect.
Common questions
Do I need an anti-static wrist strap to build a PC?
It's cheap insurance, but most home builders get by without one. Avoid carpet and touch bare metal on the case before you handle parts. If your home is very dry, or you have to work on carpet, buy the strap.
Should I update the BIOS before installing Windows?
Only if you have a reason. Update if your CPU needs a newer version or the release notes fix a problem you're seeing. A board that posts and runs normally can be left alone.
Why is my new PC stuck on a black screen on the first boot?
It's probably training the memory, which can take several minutes on a DDR5 board, longer with big kits. Wait ten minutes before you touch anything. If nothing changes, shut it down and work through the POST checks in this guide.
Can I build a PC without a graphics card?
Yes, if the CPU has integrated graphics, which most Ryzen 7000 and 9000 chips and most Intel parts without an F in the name do. Plug the monitor into the motherboard's video output instead. A CPU without integrated graphics, such as the Ryzen 5 8400F, needs a graphics card to show anything.
Sources
- How to Install a CPU · Tom's Hardware
- Windows 11 Specs and System Requirements · Microsoft
- AMD Socket AM5 Chipset · AMD
- AMD Ryzen™ 7 9700X · AMD
- Intel® Core™ Ultra 9 Processor 285K (36M Cache, up to 5.70 GHz) Specifications · Intel
R8Keep reading
Explainers · 3 min
AM5 vs LGA1851: Sockets, Chipsets and Upgrade Paths
How AMD's and Intel's current desktop platforms compare on chipset tiers, memory and longevity, and which one leaves you a real upgrade path.
Nov 9, 2026
How-To · 4 min
How to Apply Thermal Paste on AM5 and LGA1851
How much paste to use, where to put it on current AMD and Intel CPUs, how to clean off the old layer, and when repasting is worth doing.
Nov 9, 2026
Guides · 5 min
How to Choose a CPU in 2026
Games want cache and heavy work wants cores. Pick between Ryzen 9000 and Core Ultra 200S, weigh socket lifespan, and learn when to keep your chip.
Nov 9, 2026
Bench Notes
One short email a week: price drops worth acting on, launches that matter, and the builds we would actually buy.