R6How-To · 4 min read
How to Install an M.2 SSD
Pick the right slot, fit the drive and heatsink without damage, and get Windows to see it, including the lane-sharing checks that most guides skip.
PC Parts Reviews Editors · November 9, 2026
The short version
- Check your motherboard manual before choosing a slot, because on many boards a populated M.2 slot slows the graphics slot or disables another connector.
- Put your boot drive in the M.2 slot closest to the CPU, which is normally wired directly to CPU lanes.
- Peel the protective film off the heatsink's thermal pad, and tighten the M.2 screw only until it's snug.
- A new drive won't appear in File Explorer until you initialize and format it in Disk Management.
An M.2 SSD is the easiest upgrade in a desktop: one slot, one screw or latch, about ten minutes. The part people get wrong is choosing the slot, because on many boards filling the wrong one slows the graphics card or switches something else off. Spend your time on that decision. If you're still shopping, our SSD buying guide and the current SSD rankings will narrow the choice.
Before you open the case
Confirm the drive fits. Nearly all consumer NVMe drives are the 2280 size, 22 mm wide and 80 mm long, with an M-key edge connector. Your manual lists the sizes each slot accepts, and some slots take longer or shorter drives than others. SATA M.2 drives also exist, and they only work in slots the manual says support SATA.
Then power down properly. Shut Windows down, turn off the power supply switch, unplug the cord and hold the case power button for a few seconds to drain what's left. Touch bare metal on the case before you handle the drive. You'll need a small Phillips screwdriver, unless your board uses a tool-free latch.
If you're replacing your boot drive, clone or back up the old one first, while everything still works.
Pick the slot
Your boot drive belongs in the slot closest to the CPU. That slot is normally connected directly to the processor and is usually the fastest on the board.
For a second or third drive, read the storage section of the manual first, including every footnote. These examples show why:
- On the ASUS TUF Gaming X870-Plus WiFi, the top graphics slot drops to x8 whenever M.2_2 is in use, and a lower PCIe slot is disabled when M.2_4 is in use.
- On the MSI MAG X870 Tomahawk WiFi, a drive in M2_2 shares PCIe 5.0 bandwidth with the rear USB 40Gbps ports. Both run at x2 unless you change a BIOS setting that gives the drive x4 and turns those USB ports off.
- Some slots depend on the CPU. ASUS notes that the same M.2_2 slot on the TUF board isn't supported at all with Ryzen 8000 chips.
Our PCIe lanes explainer covers why boards behave this way. As a rule, fill the first slot, then use the slots that don't share lanes with anything you care about.
Install the drive
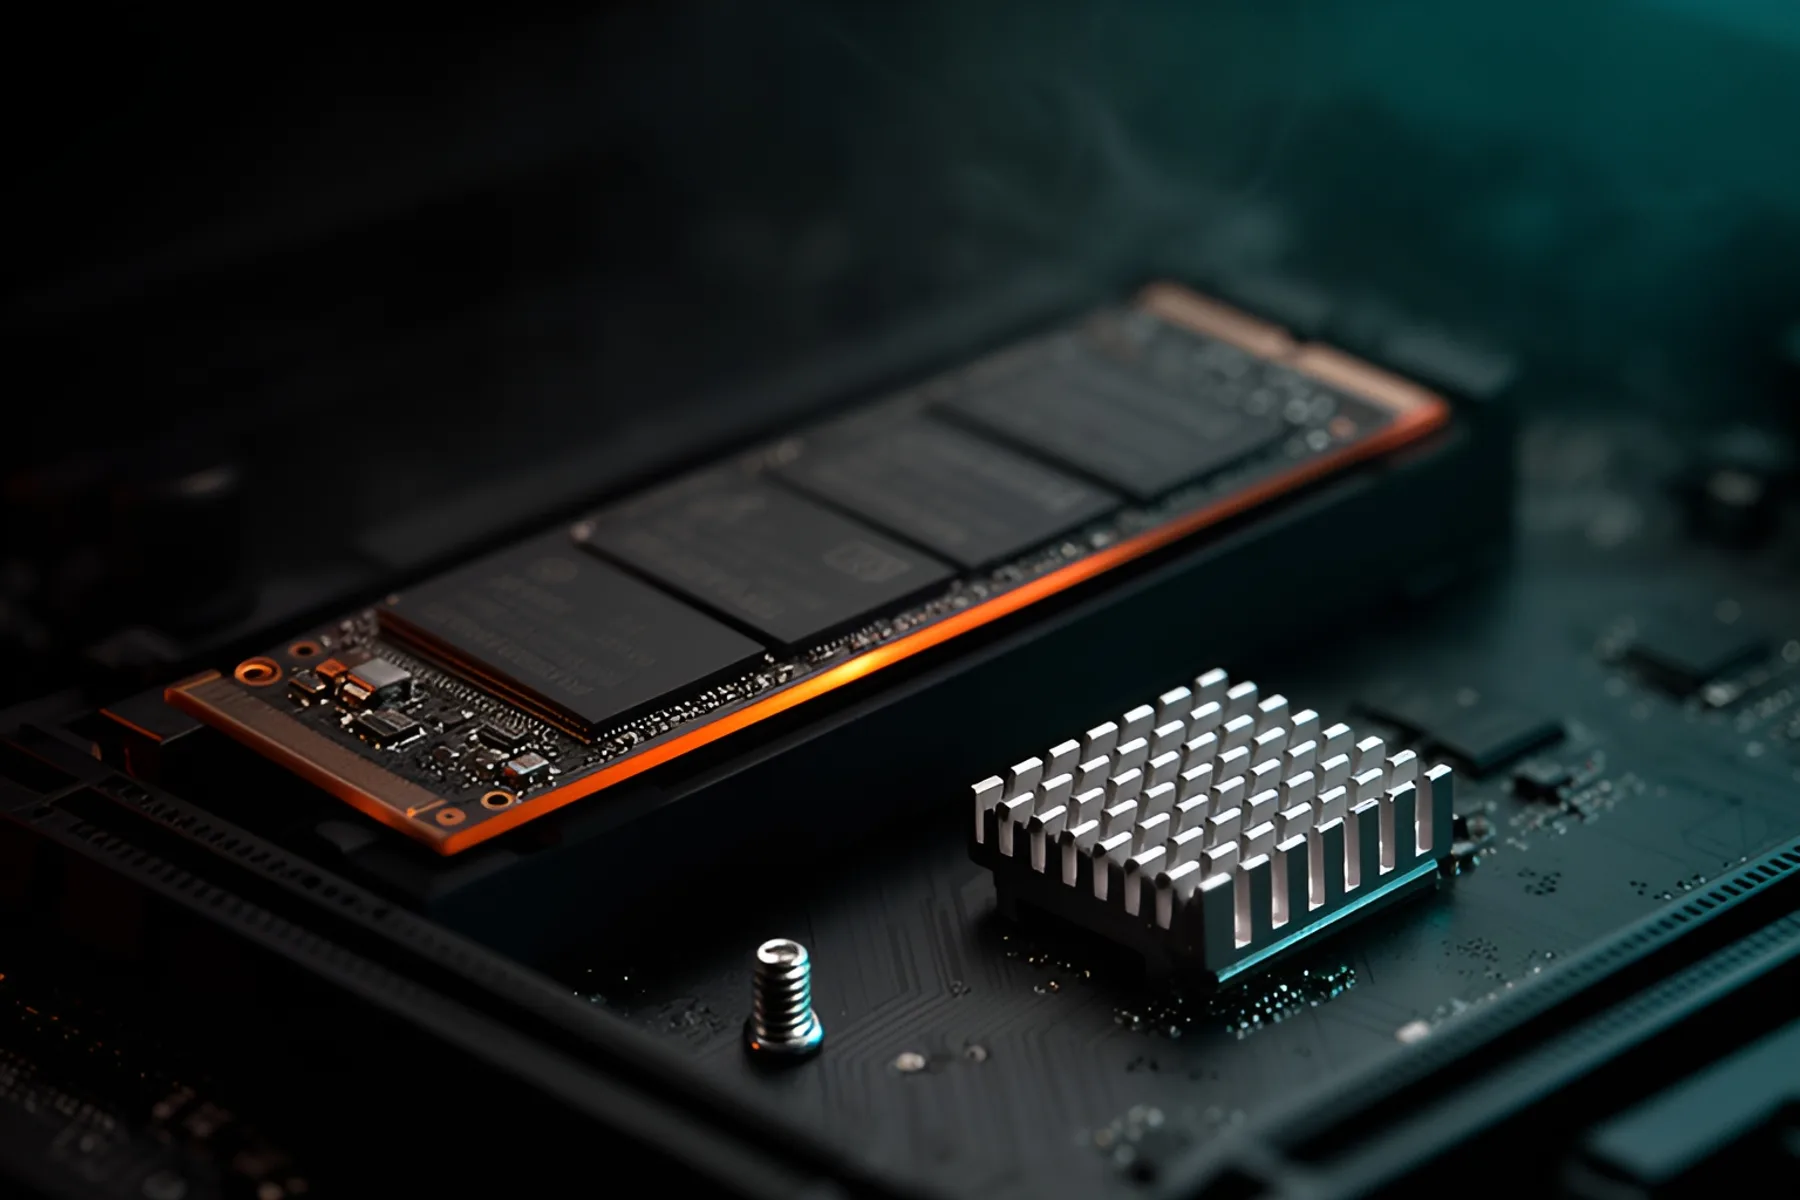
- Remove the slot's heatsink if there is one. Lift it straight off and set it down with the pad facing up.
- Peel the film off the thermal pad. It's a thin, clear layer that's easy to miss.
- Check the mount point. On most boards the standoff or latch for a 2280 drive is already in place. If not, move it to the 80 mm position.
- Insert the drive at a shallow angle with the notch lined up with the slot. The gold contacts should disappear almost completely into the connector.
- Press the far end down until the drive is flat against the standoff.
- Secure it with the small screw or the tool-free latch.
- Refit the heatsink and tighten its screws evenly, so the pad presses flat against the drive.
Warning: Don't force the drive into a slot if the notch doesn't line up, since that points to the wrong key or a slot that doesn't accept this drive. And stop turning the mounting screw once it's snug: the thread is tiny, and over-tightening can strip it or crack the drive's circuit board.
Warning: Leaving the film on the thermal pad traps heat against the drive. If your SSD came with its own heatsink, remove the board's slot cover and use only one of them. Check that a tall heatsink doesn't touch the graphics card in the slot below.
Make it show up in Windows
Boot into the BIOS first and confirm the drive is listed. Then start Windows.
- Right-click the Start button and open Disk Management.
- If a dialog offers to initialize the new disk, pick GPT.
- Right-click the unallocated space and choose New Simple Volume.
- Accept the size, assign a drive letter, keep NTFS and finish.
If you cloned your old drive instead of starting fresh, set the new drive as the first boot device in the BIOS and leave the old one out for the first start. Then download the drive maker's utility and check for firmware updates, which often fix bugs on newer drives.
Finally, confirm the drive got the link you paid for. CrystalDiskInfo shows the current and supported transfer mode, for example PCIe 4.0 x4 or PCIe 5.0 x4. If it reports fewer lanes or an older generation than the slot should offer, you've probably run into one of the sharing rules above, or a BIOS setting has limited the slot. A sequential test in CrystalDiskMark will show the same thing in plain numbers.
If something goes wrong
| Symptom | Likely cause | Fix |
|---|---|---|
| Drive missing from the BIOS | Not fully seated, or the slot isn't supported with your CPU | Reseat it, then check the slot's CPU notes in the manual |
| Listed in the BIOS, missing in File Explorer | Disk hasn't been initialized | Initialize and format it in Disk Management |
| Graphics card now runs at x8 | That M.2 slot shares lanes with the top slot | Move the drive to a slot that doesn't share |
| A USB port or PCIe slot stopped working | Lane sharing with the M.2 slot | Move the drive or change the setting in the BIOS |
| Speeds collapse on long transfers | The drive is overheating | Check the pad, airflow and that the film is gone |
If a drive never appears in any slot, try it in a USB enclosure or another PC if you can, then return it. If you've run out of usable slots altogether, the motherboard category shows which boards offer more, and our motherboard guide explains what to look for in the footnotes.
Common questions
Which M.2 slot should I use for my boot drive?
Use the slot closest to the CPU unless your manual says otherwise. It's normally the fastest one and connects straight to the CPU rather than through the chipset.
Can I put a PCIe 5.0 SSD in a PCIe 4.0 slot?
Yes. M.2 NVMe drives are backward compatible, so the drive simply runs at PCIe 4.0 speeds. Unless you need the extra sequential speed, a good PCIe 4.0 drive is often the better buy in that situation.
Does an M.2 SSD need a heatsink?
Use one on PCIe 4.0 and 5.0 drives, either the board's slot cover or the drive's own. Fast drives slow themselves down when they get hot during long transfers. Use one or the other, because stacking a drive heatsink under a board heatsink usually won't fit.
Why doesn't Windows show my new M.2 SSD?
A blank drive stays hidden in File Explorer until you initialize and format it. Open Disk Management, initialize it as GPT and create a new volume. If it's missing from Disk Management and the BIOS, reseat it and check that the slot works with your CPU.
Sources
- How to build a PC in 2025 · Tom's Hardware
- TUF GAMING X870-PLUS WIFI - Tech Specs · ASUS
- MAG X870 TOMAHAWK WIFI · MSI
- Initialize New Disks · Microsoft
R8Keep reading
How-To · 7 min
How to Build a PC, Step by Step
The whole build in order, from tools to a stress-tested Windows install, with the mistakes that damage parts flagged and a fix list for a PC that won't POST.
Nov 9, 2026
News · 3 min
Why RAM and SSD Prices Are So High
AI data centers are buying memory faster than factories can make it. Here is what caused the shortage, what is disputed and how to buy around it.
Nov 9, 2026
How-To · 4 min
How to Apply Thermal Paste on AM5 and LGA1851
How much paste to use, where to put it on current AMD and Intel CPUs, how to clean off the old layer, and when repasting is worth doing.
Nov 9, 2026
Bench Notes
One short email a week: price drops worth acting on, launches that matter, and the builds we would actually buy.